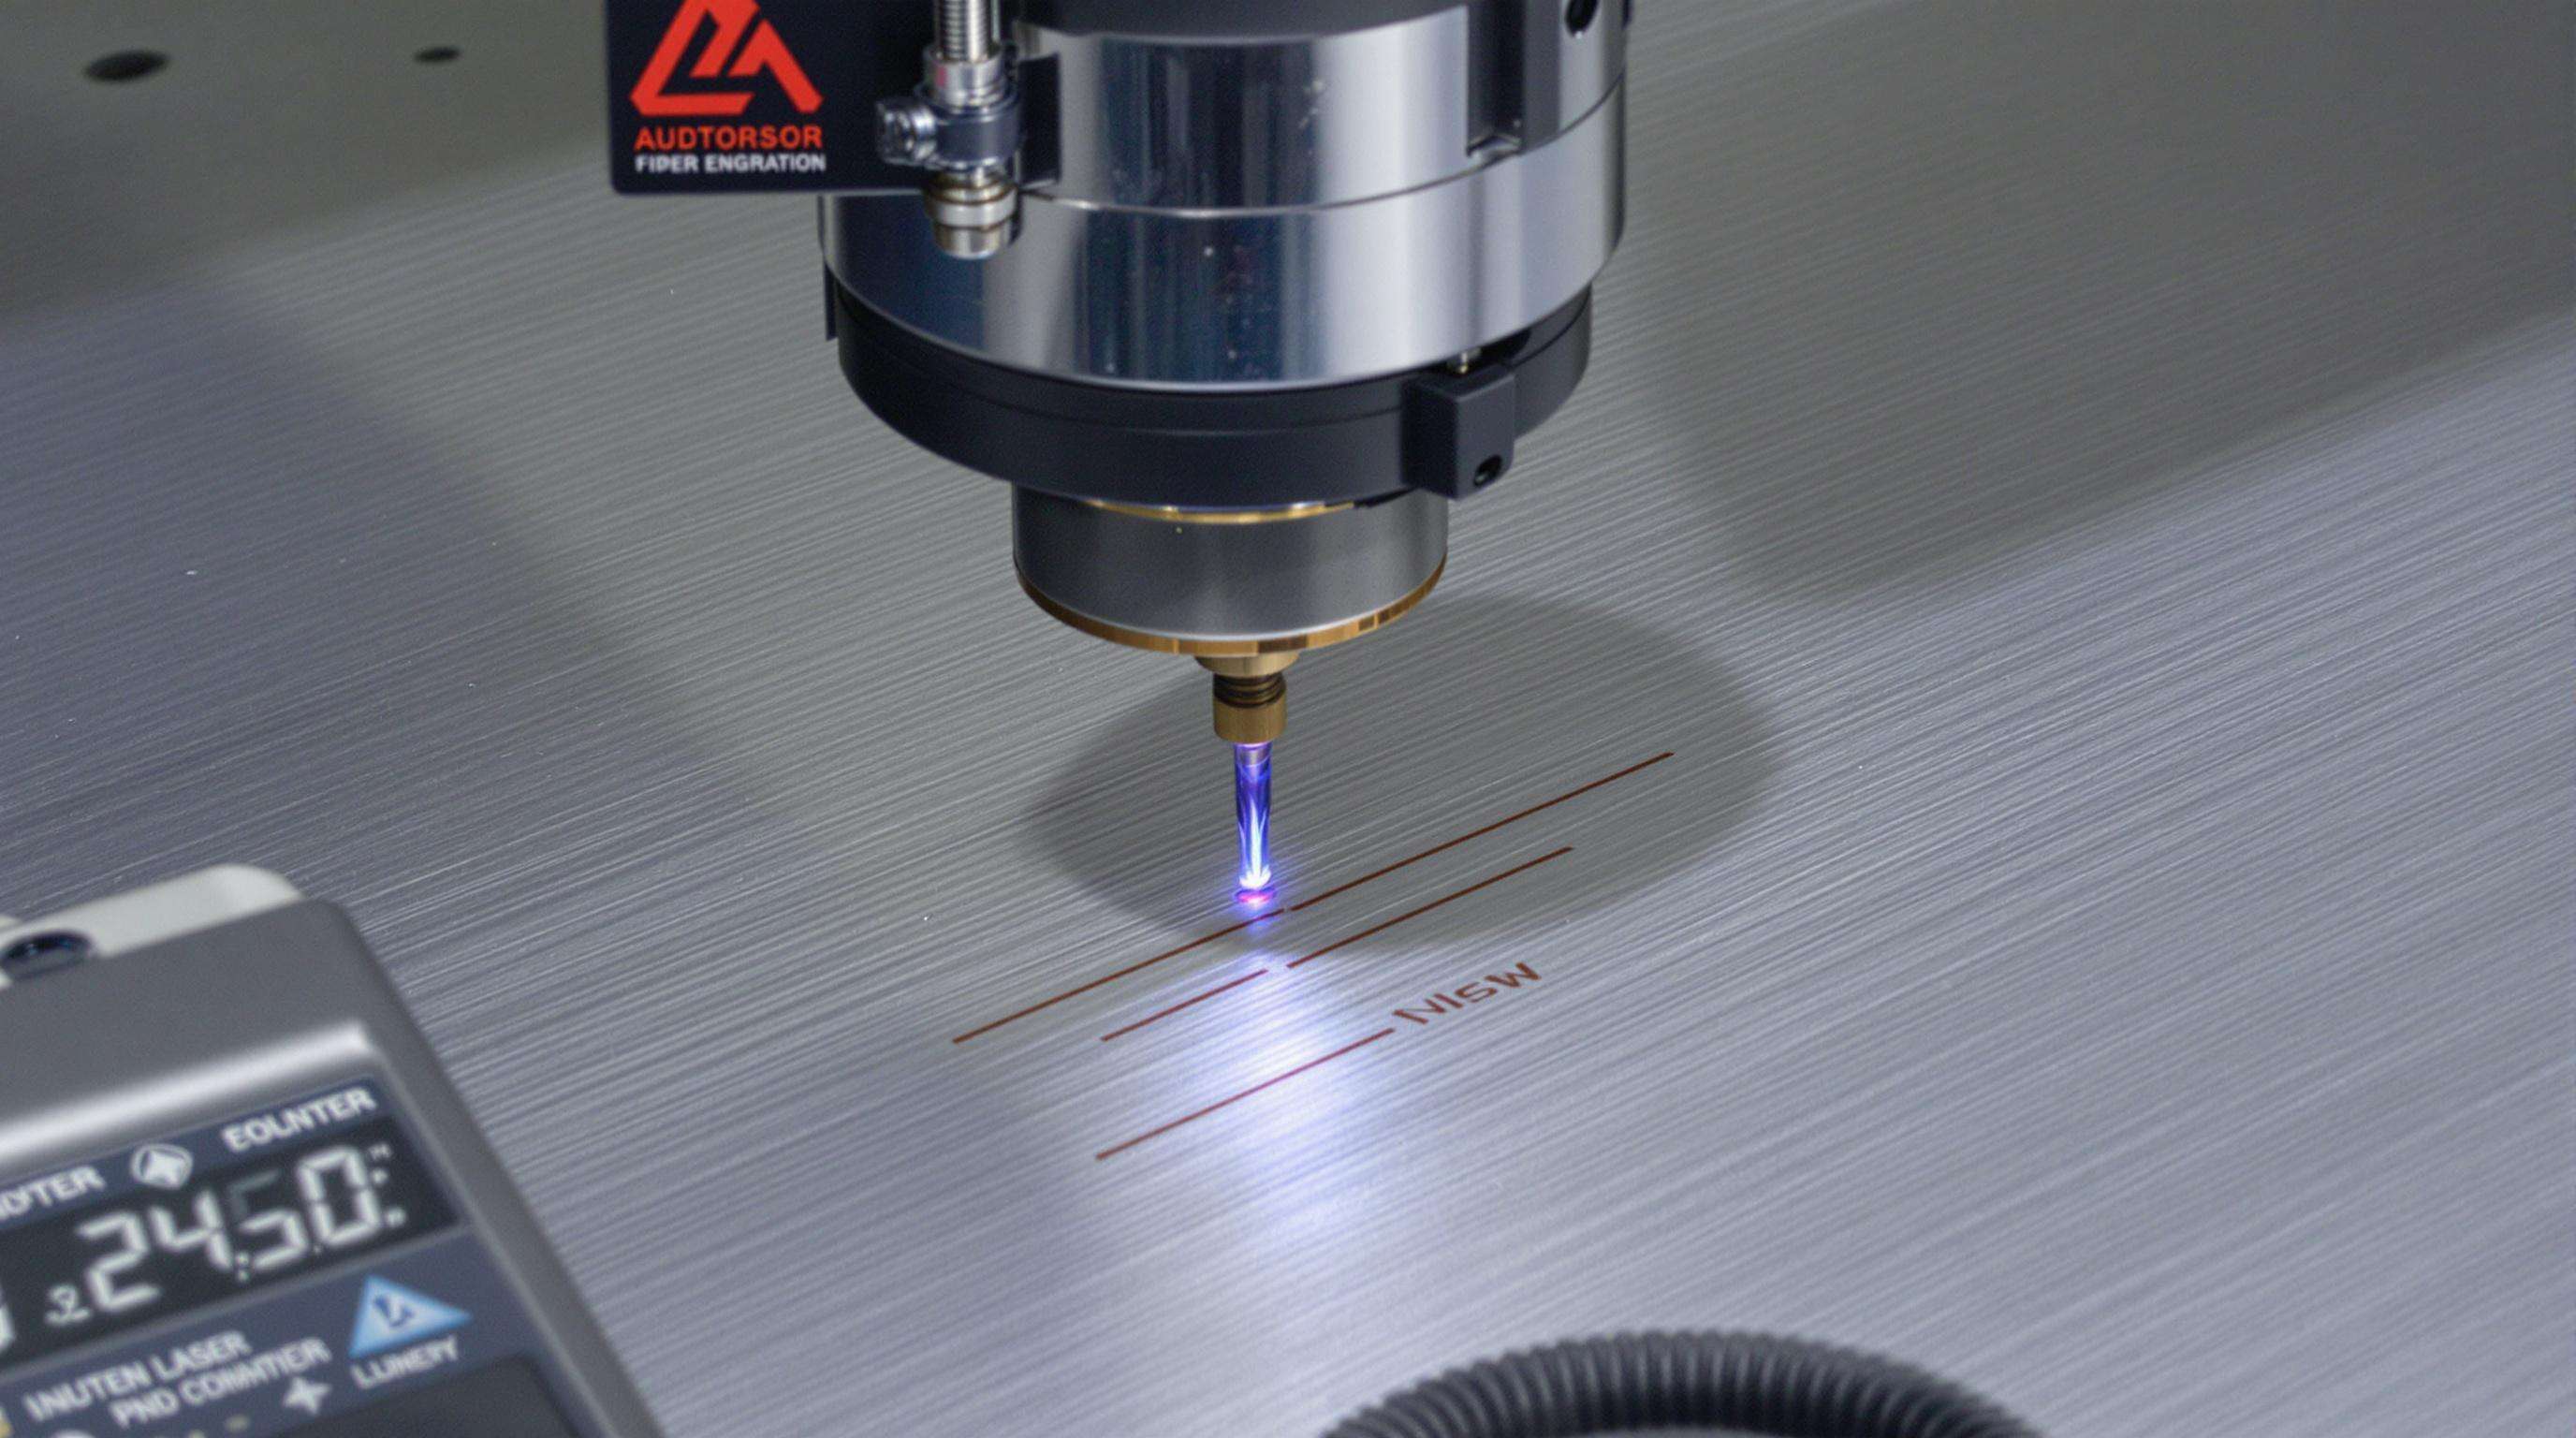
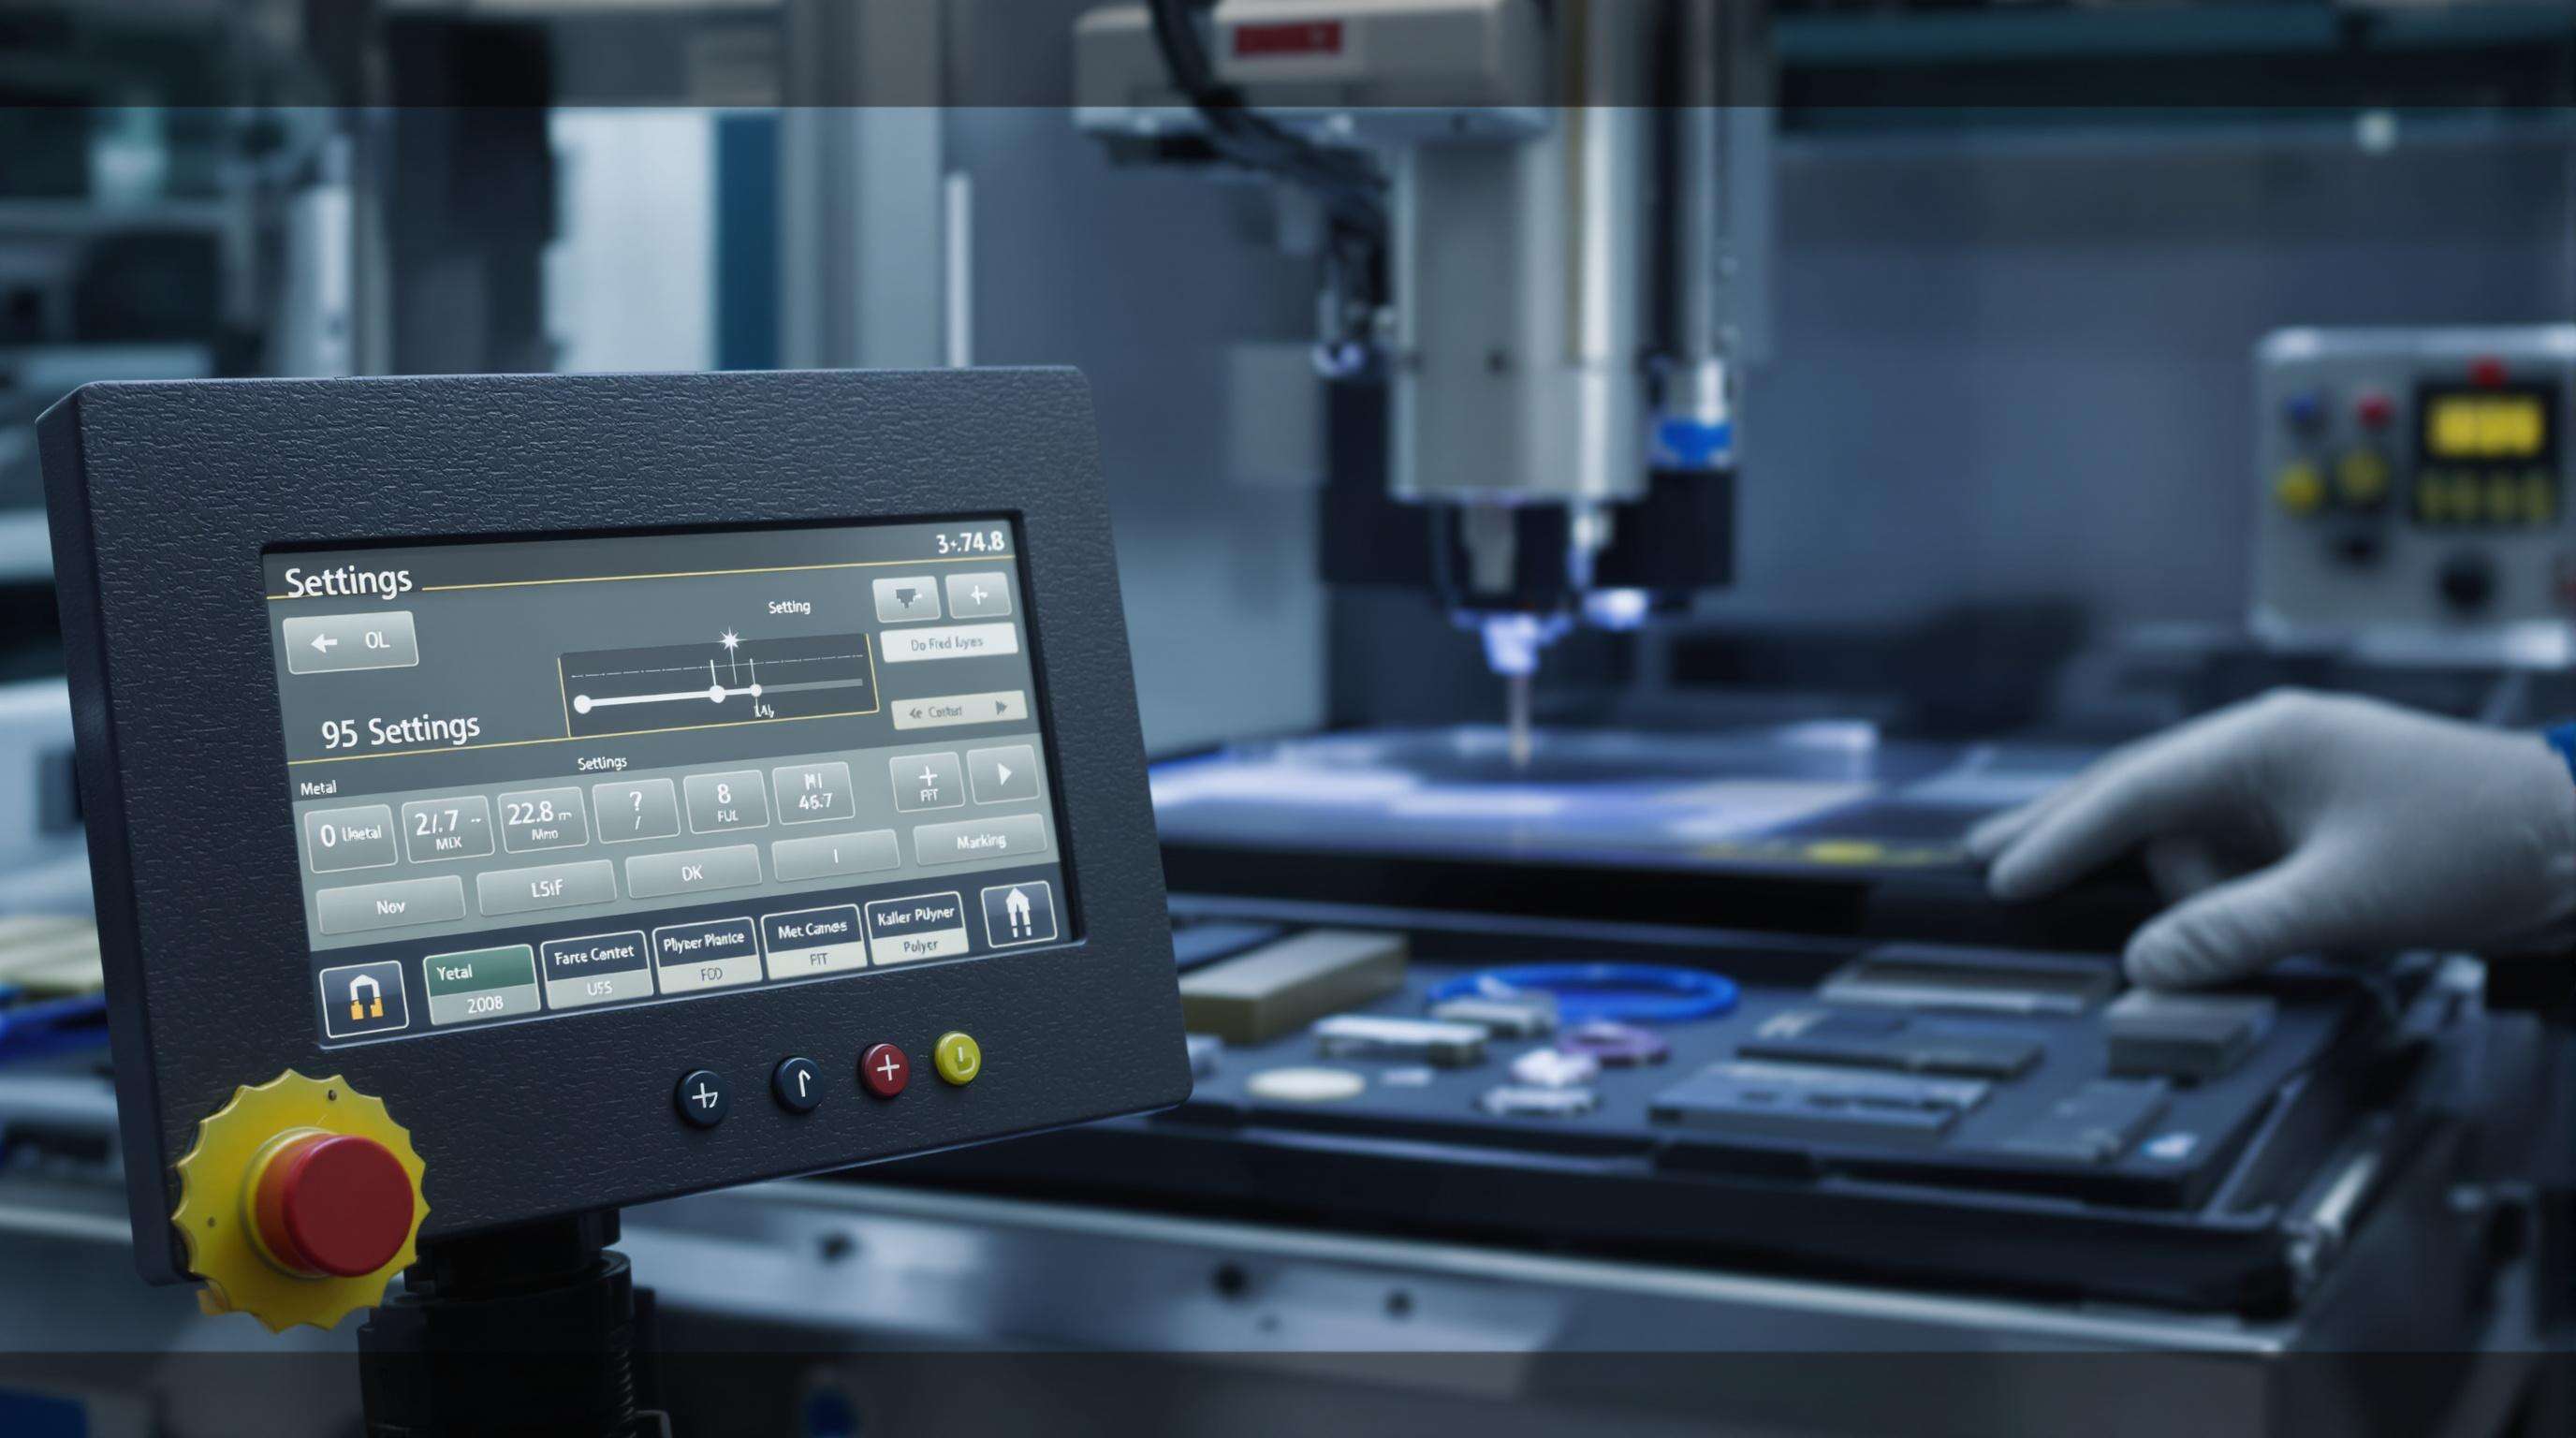
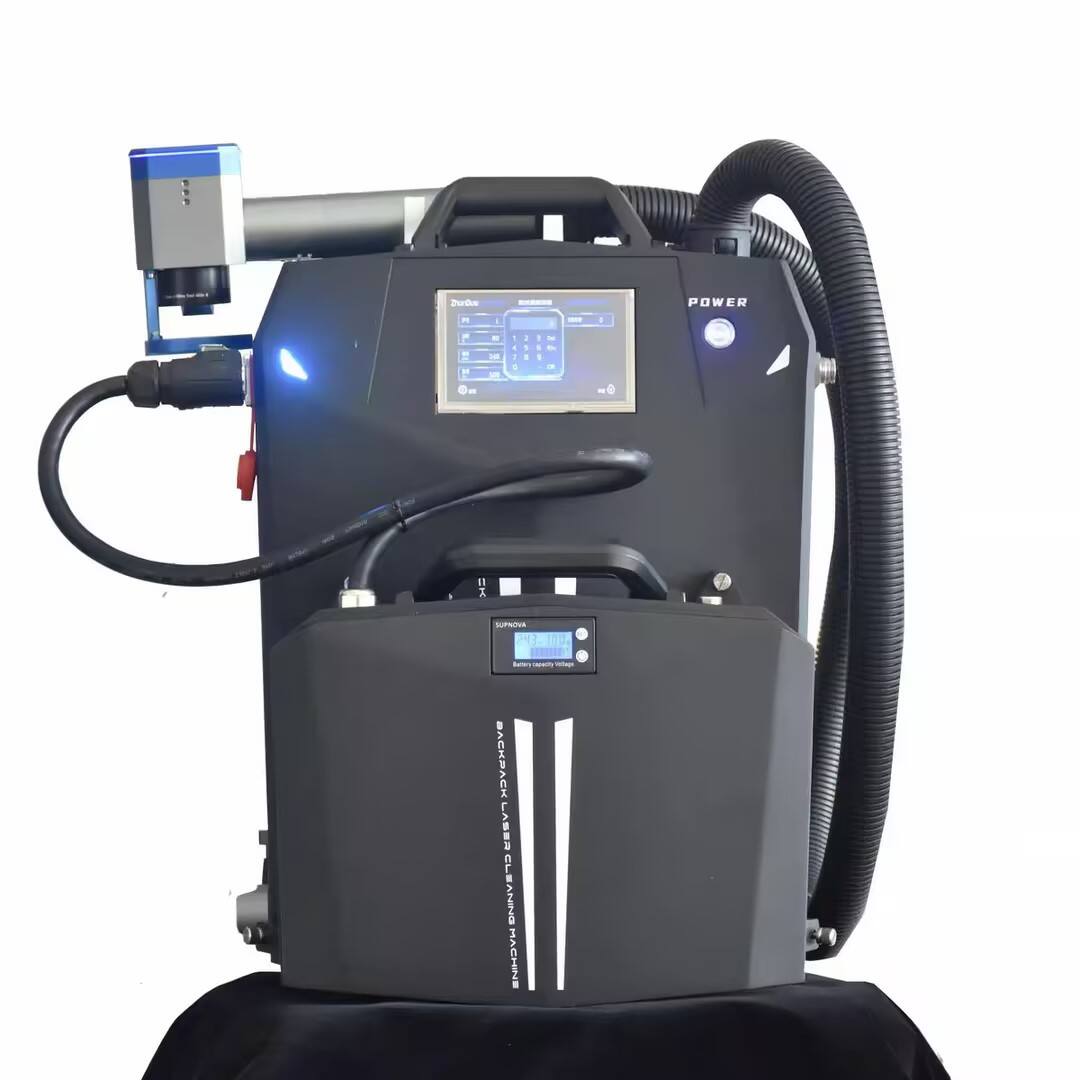
Engraving Quality Issues in Fiber Laser Marking Machines

Decreased Laser Intensity and Unclear Marking Solutions
Low beam performance is often caused by aging laser modules (expected lifetime: 8,000–15,000 hours operation time) and voltage variations that are more than ±5% from the specification. Before checking optics, operators should first confirm the power stability by means of multimeter diagnosis. Dirty lens lowers light-transmission rate by 40%, mis-aligned galvanometer scanner beyond 0.05mm deviation will mainly affect the marking effect. For anodized aluminum use 70-80% power at 800-1,200mm/s to mark with a crisp, dark mark that does not cause damage to the aluminium.
Addressing Inconsistent Engraving Depth Patterns
Changes in depth usually suggest material unevenness on a surface of more than 0.2mm or a level failure of Z-axis. Pre-scanning topography mapping can be carried out even on non-flat objects such as cast metals, focusing is adjusted automatically by motorized height compensation. For uniform substrates, calibrate in three axes with ISO traceable thickness gages. The depth deviations in polymer engravings can be greatly removed if the pulse frequency is tuned to 50 kHz and the speed is dropped by 30%.
Faded or Partial Marking Defect Correction
Partial markings typically reveal beam obstructions or lens defects causing ¥20% energy loss. Weekly infrared inspections of beam paths help identify misaligned mirrors or cracked focusing lenses (replace if scratches exceed 0.1µm depth). When marking heat-sensitive materials like polypropylene, reduce power by 25% while increasing frequency by 20% to prevent degradation.
Laser Emission Failures in Fiber Laser Marking Machines
Troubleshooting Complete Laser Non-Emission
For total emission failure, follow these steps:
- Check power delivery with a multimeter (target: 24V ±5%)
- Inspect fiber optic connections for bending radii under 15cm or physical damage
- Test pump diode output with an infrared sensor
40% of non-emission cases resolve through fiber realignment. For persistent issues, evaluate resonant cavity mirrors for thermal deformation exceeding 0.1μm tolerance.
Resolving Intermittent Beam Output Issues
Fluctuating laser output may result from:
- Thermal instability: Monitor chiller performance (optimal: 21°C ±2°)
- Modulation signal drift: Recalibrate PWM controllers via manufacturer software
- Q-switch degradation: Ensure switching response times stay below 50ns
68% of intermittent failures stem from cooling system deficiencies during high-duty-cycle operations.
Power Supply and Modulation Signal Diagnostics
| Diagnostic Method | Application Scenario |
|---|---|
| Oscilloscope analysis | Detects ripple voltage 5% in DC output |
| Thermal imaging | Identifies failing capacitors (+15°C baseline) |
| Signal attenuation test | Verifies modulation integrity (10kHz-100MHz) |
For systems with 20kW peak draw, install ferrite cores on control cables to reduce electromagnetic interference.
Optical System Maintenance for Fiber Laser Machines
Laser Lens Cleaning and Contamination Prevention
Follow this daily cleaning protocol:
- Power down and cool the system
- Remove debris with compressed air (30-50 psi max)
- Clean with optical-grade isopropyl alcohol and lint-free swabs
Weekly inspections should check for anti-reflective coating damage. Enclosed purge systems with HEPA filters reduce particulate ingress by 85%. Never use abrasive materials or circular motions over 5 cm/sec.
Galvanometer Scanner Alignment Procedures
Monthly alignment checks:
- Position a beam profiling camera at the workpiece plane
- Fire a 10W test pulse at 1064 nm
- Compare actual vs. programmed coordinates
- Fine-tune mirror angles (0.001° resolution)
Post-alignment validation requires marking a grid pattern—tolerances should stay below 0.03mm deviation across 300mm.
Parameter Optimization in Fiber Laser Marking

Speed-Power-Frequency Balancing Techniques
Optimal settings depend on material:
- Metals: Lower speed-power ratios (<0.8 mm/J) ensure ¥0.15mm depth
- Polymers: Higher frequencies (150-200 kHz) with reduced power (30-50%) prevent heat buildup
Modern systems use genetic algorithms to auto-adjust parameters, reducing rejection rates by 22% in industrial applications.
Material-Specific Configuration Strategies
| Material Group | Power Range | Frequency Preference |
|---|---|---|
| Ferrous Metals | 70-95% | 80-120 kHz |
| Plastics | 20-45% | 150-200 kHz |
| Anodized Aluminum | 50-70% | 40-60 kHz |
Aluminum alloys require 12-15% lower peak power than stainless steel to avoid surface ablation.
Mechanical Calibration for Fiber Laser Systems
Z-Axis Focusing Mechanism Adjustments
Quarterly recalibration with laser interferometers compensates for thermal expansion. For anodized aluminum, test cuts at varying heights confirm depth uniformity. Modern systems use real-time feedback loops to auto-adjust servo parameters.
Workpiece Positioning System Verification
For multi-axis operations:
- Execute grid-based test patterns for alignment verification
- Inspect linear guides with dial indicators (accept ¥0.02mm deviation)
- Validate rotary concentricity via 90° cylindrical markings
Post-calibration, confirm repeatability within ±5 μm tolerance on stainless steel coupons.
FAQ Section
What are common causes for decreased laser intensity?
Common causes for decreased laser intensity include aging laser modules, voltage variations, dirty lenses, and misaligned galvanometer scanners.
How can partial markings be corrected?
Partial markings often indicate beam obstructions or lens defects. Inspect for misaligned mirrors or cracked lenses and make necessary adjustments or replacements.
What should be checked if the laser fails to emit?
If the laser fails to emit, check power delivery, inspect fiber optic connections, and test pump diode outputs.
How often should laser lens maintenance be performed?
Daily cleaning and weekly inspections should be performed to maintain laser lens quality and prevent contamination.
What parameters are crucial for material-specific laser marking?
Parameters such as speed, power, and frequency should be adjusted based on the material type to optimize laser marking quality.

