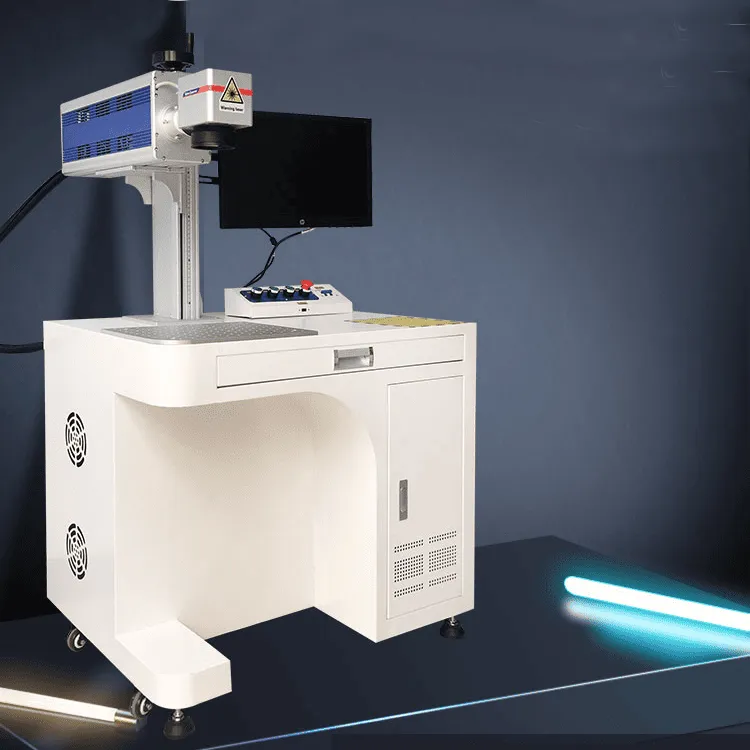
CO₂ Laser Marking Machine: No Output or Intermittent Burning – Laser Emission Failure Solutions

Laser tube not lighting up: Diagnosing power supply, fuses, and HV circuit integrity
If a CO2 laser marking machine won't start up properly, the first place to check is always going to be the power supply. Grab a multimeter and test whether the incoming voltage stays stable enough. Most machines need around +/− 10% variation max before they'll actually power on. Take a look at those main fuses too. A blown 20 amp fuse usually means something went wrong in the high voltage circuit somewhere. For the HV transformer, anything under 25 kilovolts coming out typically points to failed components inside. Safety systems matter here as well. Make sure every door switch works correctly and emergency stop buttons aren't accidentally activated since these will cut off power completely. And don't forget about the physical connections themselves. Carbon buildup, rust spots, or wires that have come loose over time are surprisingly common reasons why lasers might fire inconsistently or not at all.
Laser moves but doesn’t mark: Confirming beam delivery vs. actual lasing (tube aging, gas depletion, electrode issues)
When the laser head moves just fine but doesn't leave any marks on material, we need to figure out if there's a problem with how the beam gets delivered or if the laser itself isn't working properly. Start by placing some thermal paper right at the end of the tube to see if it actually emits light. If there's no scorch mark, then something's wrong with the lasing process. This usually happens when the CO₂ gas runs low (below 30 mbar pressure) or when the electrodes inside have worn down over time. Check what the tube current reads at. Values dropping below 30% of what the manufacturer says they should be typically points to an older tube, particularly once it hits around 8,000 hours of operation. Even if the current looks good but the output still seems weak, take a look at those mirrors and lenses for proper alignment and dirt buildup. And watch out for electrode pits deeper than half a millimeter deep because these can cut energy transfer efficiency down by as much as 70%. At that point, replacing the whole tube becomes pretty much unavoidable.
Optical Path & Beam Quality Issues Affecting Marking Precision
Misaligned mirrors or lenses causing weak, scattered, or off-center beam
Small misalignments along the optical path can really mess up beam quality. When mirrors are tilted or lenses move even slightly, energy gets scattered instead of focused. This creates weak spots on materials being marked, leading to uneven depths and patterns that don't line up properly. To fix this, work through the alignment process step by step with good quality tools. Start at the laser tube itself and gradually move towards where the beam finally focuses. Check that every reflection hits dead center on whatever comes next in line. And when tightening down those mounting parts, do it slowly and carefully. Rushing here just invites problems later when everything shifts again while running.
Contaminated or damaged optics leading to inconsistent depth and poor contrast
When dust builds up, residues stick around, or there are those tiny scratches on mirrors and lenses, they tend to mess with laser energy by scattering it and absorbing some along the way. What happens next? The workpiece gets affected - think faint spots appearing, inconsistent contrast levels, maybe even parts that don't get engraved properly. For regular checks, look at these optical components every week under good lighting from an angle. When cleaning time comes, stick strictly to lens grade isopropyl alcohol paired with soft microfiber swabs, moving in gentle circles rather than harsh scrubbing. If something shows signs of trouble like pits forming, damaged coatings, or just won't stop looking hazy no matter how clean it seems, then replacement becomes necessary. Shops working in dusty conditions should seriously consider adding nitrogen purge systems or installing protective shutters for their equipment. These solutions have shown real benefits in preventing issues with beam quality, cutting down problems by roughly two thirds according to industry experience.
Focus, Motion, and Mechanical Alignment Problems
Focal shift and Z-axis calibration errors resulting in shallow, blurry, or uneven marks
When the focus drifts off track, usually because the Z-axis is out of whack or parts expand due to heat, marking quality takes a real hit. Even a tiny gap of about 0.1 mm between where the laser focuses and the actual material surface can cut down on how evenly deep marks are made by roughly 40%. What happens? Well, edges get blurry, engraving depths vary all over the same component, and sometimes materials just won't respond consistently when being marked. To fix this mess, regular checks of the Z-axis position with those fancy height measuring tools are essential. Also worth doing is setting up some kind of thermal compensation system whenever temperatures inside the workshop swing around too much. Don't forget to tighten those lens mounts so they don't shake loose, and keep an eye on cooling systems making sure they hold steady temps throughout long production runs. Thermal drift is the enemy here.
X/Y axis movement failure, skipped steps, or homing inaccuracies disrupting marking registration
Axis-related registration errors typically stem from belt tension inconsistencies (beyond ±5% tolerance), rail misalignment (0.02 mm/m), or stepper motor voltage instability. These faults cause mark placement to deviate from programmed coordinates—sometimes by over 1 mm. Establish a preventive maintenance schedule:
- Verify belt tension monthly with a calibrated tension gauge
- Clean and lubricate linear rails every two weeks
- Calibrate homing sensors quarterly using certified alignment fixtures Skipped steps frequently reflect electrical issues—monitor driver current consistency and replace worn motor couplings immediately. Proper axis alignment reduces positional error by up to 90% compared to unmaintained systems.
Cooling, Power Supply, and Environmental Stability Factors
Inadequate cooling: Water flow blockage, temperature drift, and pump failure triggering safety shutdowns
About 38 percent of unexpected downtime in CO2 lasers comes from cooling system problems. When minerals build up inside those coolant lines, they block proper flow and make it harder for heat to escape. Temperature swings bigger than plus or minus 2 degrees Celsius can really mess with how well the laser works, sometimes even forcing automatic shutdowns for safety reasons. The pumps tend to start failing before we notice anything wrong with power output so keep an eye out for strange changes in water flow or odd noises coming from the system. Thermal imaging helps spot areas where coolant isn't spreading evenly through the machine. Regular checks on tubes and filters every three months will catch small particles accumulating over time that eventually clog things up and strain the whole circulation system.
Unstable input voltage or faulty ammeter readings affecting laser tube consistency and lifespan
When voltage fluctuates more than 10% from normal levels, it really speeds up electrode degradation and messes with how CO2 gas flows through the system, cutting down tube lifespan by as much as 40%. That's why checking ammeters monthly against a proper reference meter matters so much. Bad readings hide actual issues with current flow that make processes inconsistent over time. For anyone serious about maintaining good results, getting industrial strength voltage regulators with built-in surge guards makes all the difference. These devices keep power steady, something absolutely necessary for producing uniform marks and ensuring tubes last longer without unexpected failures during production runs.
FAQs on CO2 Laser Emission Failures
Why isn't my laser marker turning on?
Check the power supply and incoming voltage stability first. Inspect fuses and ensure the HV transformer is outputting the correct voltage. Make sure safety systems are intact and check for any physical connection issues such as loose wires or corrosion.
What should I do if my laser moves but doesn’t mark?
Examine the beam delivery and lasing process, check CO₂ gas levels, and verify electrode conditions. Tube current should be evaluated to determine if age-related degradation is causing issues.
How do optical path issues affect marking quality?
Misaligned mirrors or contaminated optics can scatter energy, resulting in weak marking and poor contrast. Regular alignment checks and cleaning with the appropriate methods are crucial for maintaining optimal beam quality.
What are common causes of focus and alignment problems?
Z-axis calibration errors and focal shifts due to thermal expansion can lead to uneven or blurry markings. Precise calibration and thermal management are necessary to prevent these issues.
Why does cooling failure impact laser downtime?
Cooling system problems, such as mineral blockages, can impede heat dissipation, leading to automatic laser shutdowns. Regular maintenance helps prevent these failures and prolongs the machine’s operational lifespan.